How to Set Up Your First Saltwater Reef Tank: A Step-by-Step Guide
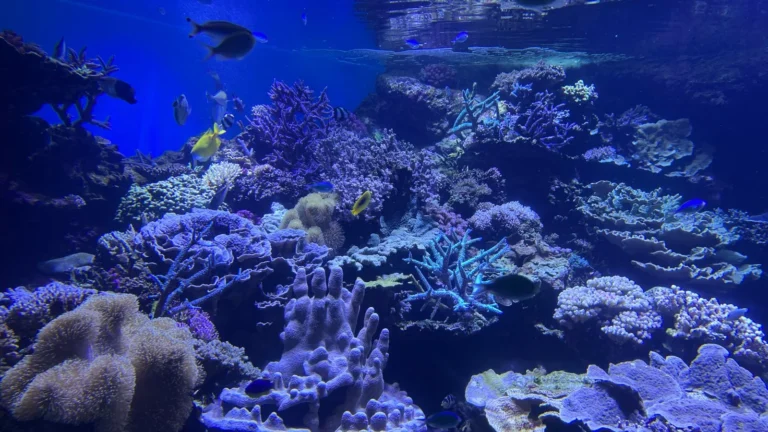
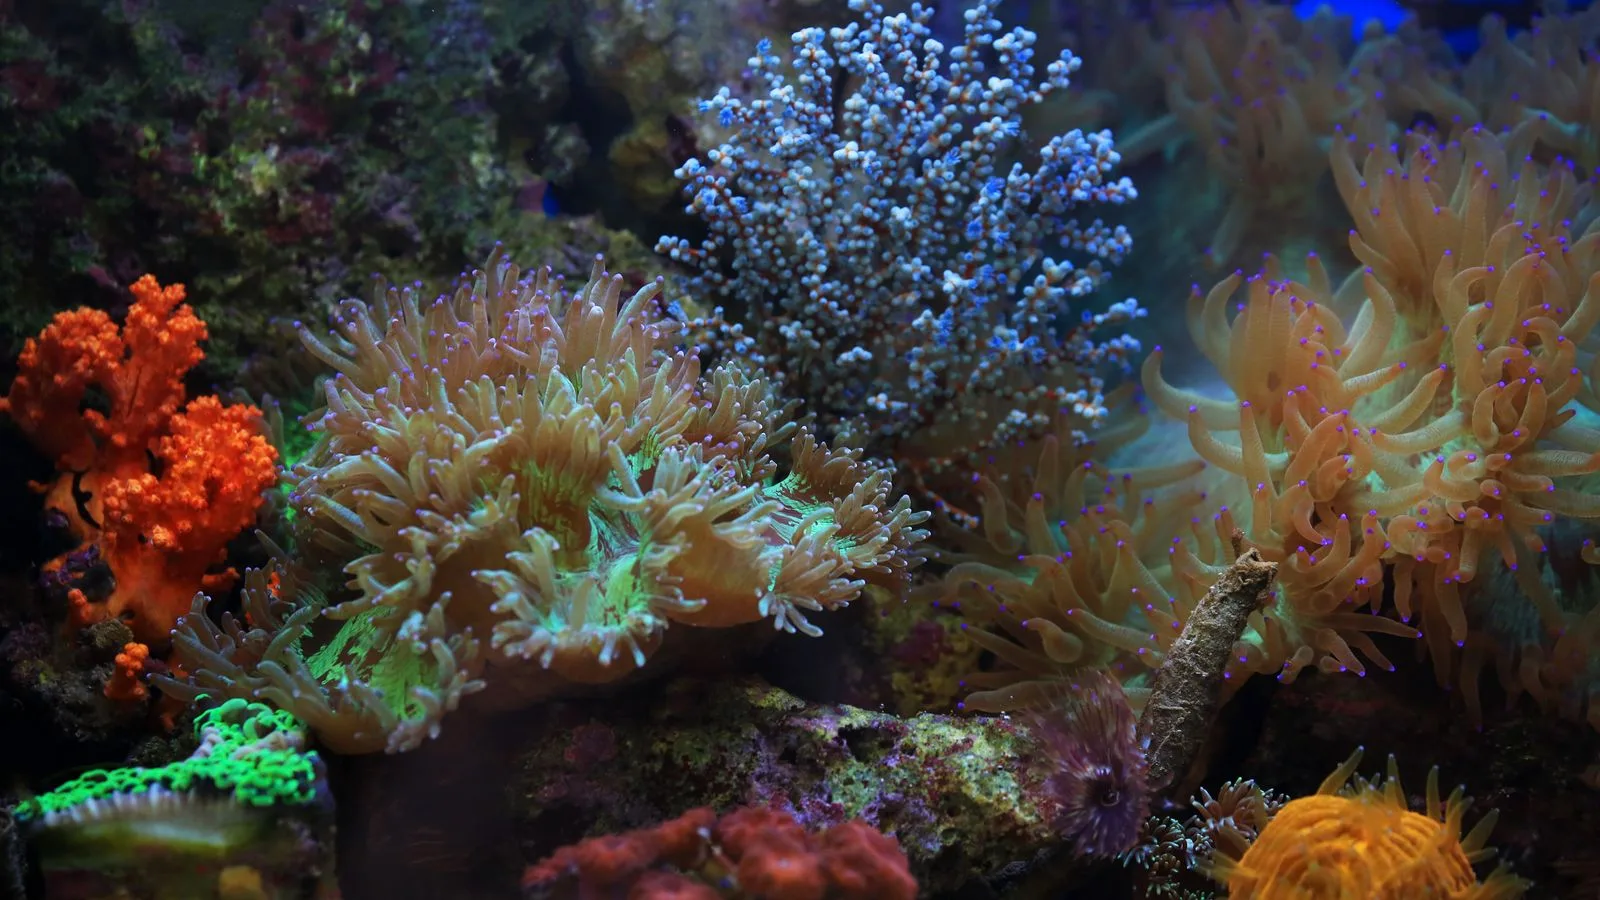
Setting up your first saltwater reef tank feels like a huge leap from a freshwater aquarium, but it breaks down into a handful of clear, repeatable steps. A reef tank is really a small piece of ocean you maintain on purpose: stable water, steady light, and patient stocking. Rush any of those and the tank fights you for months. Take them in order and you end up with a living display that gets easier, not harder, as it matures. This guide walks through the whole process from empty glass to your first fish and coral.
- Buy the biggest tank your space and budget allow — bigger water is more stable.
- Never add livestock before the tank has fully cycled.
- Stability beats chasing perfect numbers every single time.
Gather the Core Equipment First
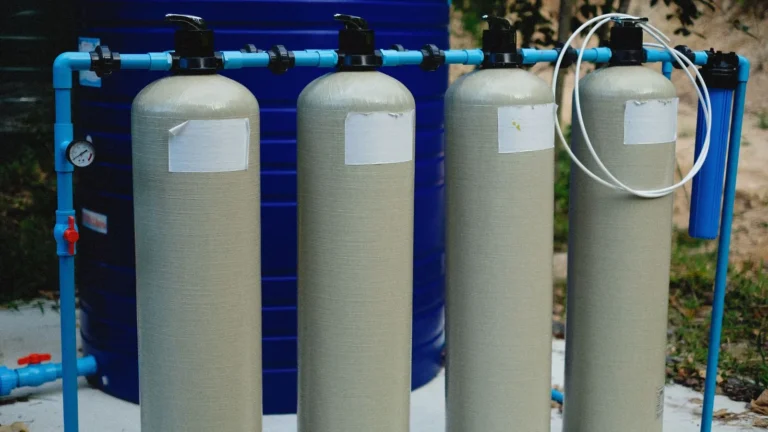
Before any water goes in, assemble the gear that keeps a reef alive. At minimum you need a tank, a source of biological filtration (live or dry rock), a heater, a powerhead or two for flow, and a reef-capable light. Most reefers also run a protein skimmer to strip dissolved waste, and an RO/DI unit to make pure water free of the nutrients that fuel algae. Skip the cheap freshwater hang-on filter you may have used before; in saltwater, live rock and a skimmer do the heavy lifting. Buy a refractometer to measure salinity and a quality test kit for the key parameters. Spending a little more on reliable equipment now saves you from chasing failures later, when there are animals depending on it.
Mix Saltwater and Fill the Tank
Reef salt is mixed with purified water to a salinity of about 1.025 specific gravity, or 35 parts per thousand. Always mix in a separate clean bucket or barrel, never in a tank that holds animals, and let it circulate with a powerhead and heater for several hours until the salt fully dissolves and the temperature matches your display. Measure salinity with your refractometer rather than guessing, because eyeballing it is how new reefers wreck their chemistry. Once the water is mixed, salted, and warmed to roughly 78 degrees Fahrenheit, you can fill the tank and add your rock. From here the tank looks finished, but biologically it has barely begun.
Cycle the Tank Before Anything Lives in It
The single most important step is cycling: growing the bacteria that convert toxic ammonia into nitrite and then into far less harmful nitrate. You start the cycle by adding an ammonia source, then wait while testing every few days. Over two to six weeks, ammonia rises and falls, nitrite rises and falls, and nitrate begins to accumulate. When ammonia and nitrite both read zero after you dose ammonia, the tank is cycled and ready for its first hardy animal. There is no shortcut that makes this safe to skip. Patience here is the difference between a thriving tank and a string of dead fish.
Stock Slowly, Starting With Hardy Life
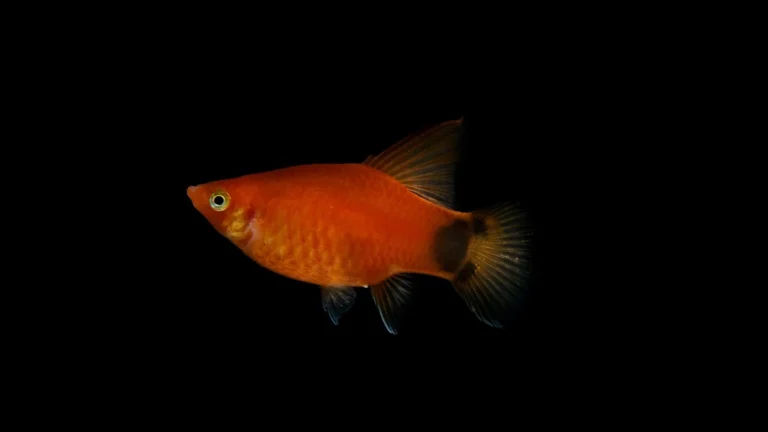
Once cycled, resist the urge to fill the tank in a weekend. Add a small cleanup crew of snails and hermit crabs first to graze the inevitable early algae. A week or two later, introduce one hardy fish such as a clownfish or a small goby. Wait, watch your parameters, and only then add the next animal. Corals usually come after the tank has run stably for a couple of months and nutrients have settled. Every new addition is a bioload increase that your bacteria must catch up to, so spacing introductions apart keeps the water safe and the livestock healthy.
Build a Simple Maintenance Routine
A reef tank rewards consistency more than effort. Top off evaporated water daily with fresh RO/DI to hold salinity steady, feed lightly, and glance at the tank for anything unusual. Weekly, test your key parameters and do a modest water change of ten to twenty percent with freshly mixed saltwater. Monthly, clean your skimmer and pumps so they keep working accurately. None of this takes long, but doing it on a schedule prevents the slow drift that crashes tanks. The reefers with the best-looking systems are rarely the ones doing the most; they are the ones doing a little, reliably, for a long time.
Pick the Right Spot and Set a Realistic Timeline
Before a single drop of water goes in, choose where the tank will live. A filled reef weighs roughly ten to eleven pounds per gallon once you account for rock and sand, so the floor and stand need to carry that load without flexing. Place the tank against a load-bearing wall when you can, keep it level, and steer clear of sunny windows and heating or cooling vents. Direct sun fuels nuisance algae and drives temperature swings, while a nearby vent can dry out the room and push evaporation up. Leave a few inches of clearance behind the tank for cords, hoses, and an overflow if you run a sump.
Equally important is giving yourself room to work. You will be reaching into the tank, swapping equipment, and hauling buckets of saltwater, so an accessible spot near a sink and a grounded outlet makes every weekly chore easier. A simple drip loop on each cord and a GFCI outlet are cheap insurance against the inevitable splashes that come with a water-filled hobby.
Set your expectations on the calendar, not the clock. From the day you add water, a healthy reef takes weeks to cycle, then months to mature into stable, coral-ready chemistry. Plan for a slow, staged build: hardware first, then rock and sand, then the cycle, then a trickle of livestock spaced out over weeks. Reefers who rush this window almost always pay for it later in algae outbreaks and lost animals. Treating the first few months as a foundation rather than a finish line is the single best habit a new hobbyist can adopt.
It also helps to dry-fit and test everything before livestock arrives. Run the pumps, heater, and light for a day or two with just saltwater in the tank to confirm there are no leaks, that the temperature holds steady, and that the flow reaches every corner. Catching a faulty heater or a noisy pump during this empty trial run is painless; discovering it after you have added fish and coral is not. A patient, methodical setup is the quiet foundation that everything else in the hobby rests on.
Your First Reef, One Step at a Time
A successful reef tank is the product of order and patience, not luck. Get the equipment right, mix clean saltwater, cycle fully, stock slowly, and maintain consistently, and the hobby becomes deeply rewarding. Bookmark the parameter targets and cycling guides below, and treat your first few months as the foundation everything else is built on. Do that, and a year from now you will have a stable, colorful reef instead of a cautionary tale.
Related reading
- Budgeting a Reef Tank: True Cost of the First Year
- Adding Your First Fish: Stocking Order for a New Reef Tank
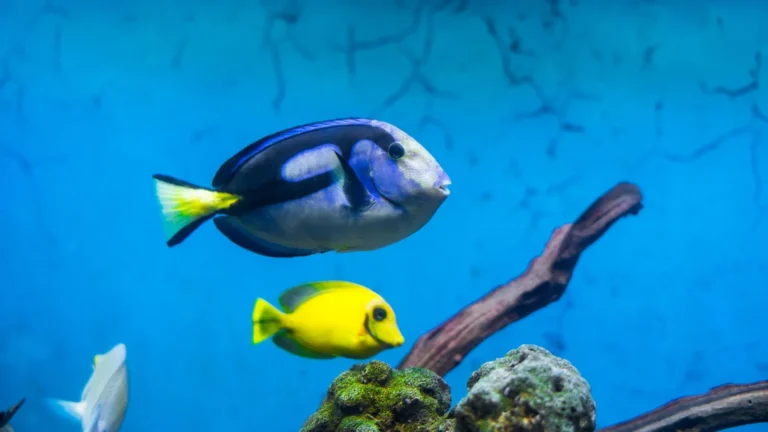
- Best Beginner Saltwater Fish for a New Reef Tank
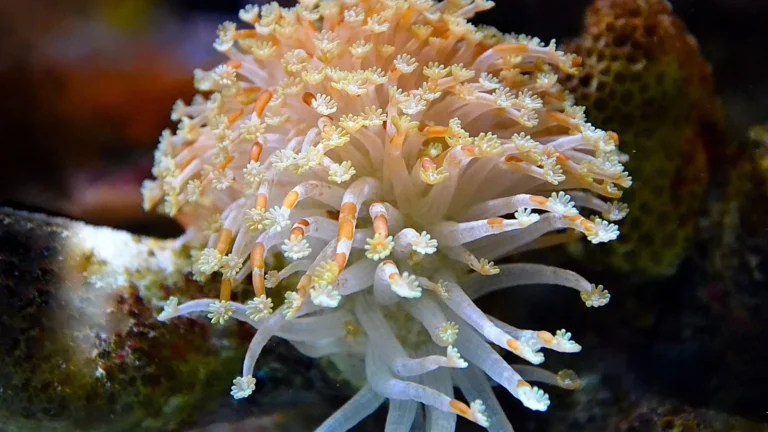
- Beginner Corals: The Best First Corals for a New Reef Tank