How to Acclimate and Dip New Corals Safely
Bringing home a new coral is exciting, but the moment between the store bag and your display is where pests sneak in and avoidable shock happens. A careful acclimation and dip routine protects both the new coral and the established colonies it will live among. It eases the animal into your water gently and removes the hitchhiking pests that ride in on frags, the flatworms, nudibranchs, and eggs that can quietly devastate a tank weeks later. The process takes only a few extra minutes and a couple of inexpensive tools, and it is one of the cheapest forms of insurance in the hobby.
- Acclimate slowly to match temperature and water.
- Always dip new corals to remove hitchhiking pests.
- Quarantine or observe frags before adding them to the display.
Why Acclimation Matters
A coral arriving from a store has been sitting in water that differs from yours in temperature, salinity, and chemistry. Dropping it straight into your tank subjects it to a sudden change that can stress or shock it, even if your parameters are excellent. Acclimation simply slows that transition. The goal is to bring the coral’s bag water gradually toward your tank water over fifteen to thirty minutes so the animal adjusts without jolt. Temperature is the most urgent variable to match, since it changes fastest in a small bag, followed by salinity. A gentle, unhurried acclimation gives the coral the best possible start in its new home.
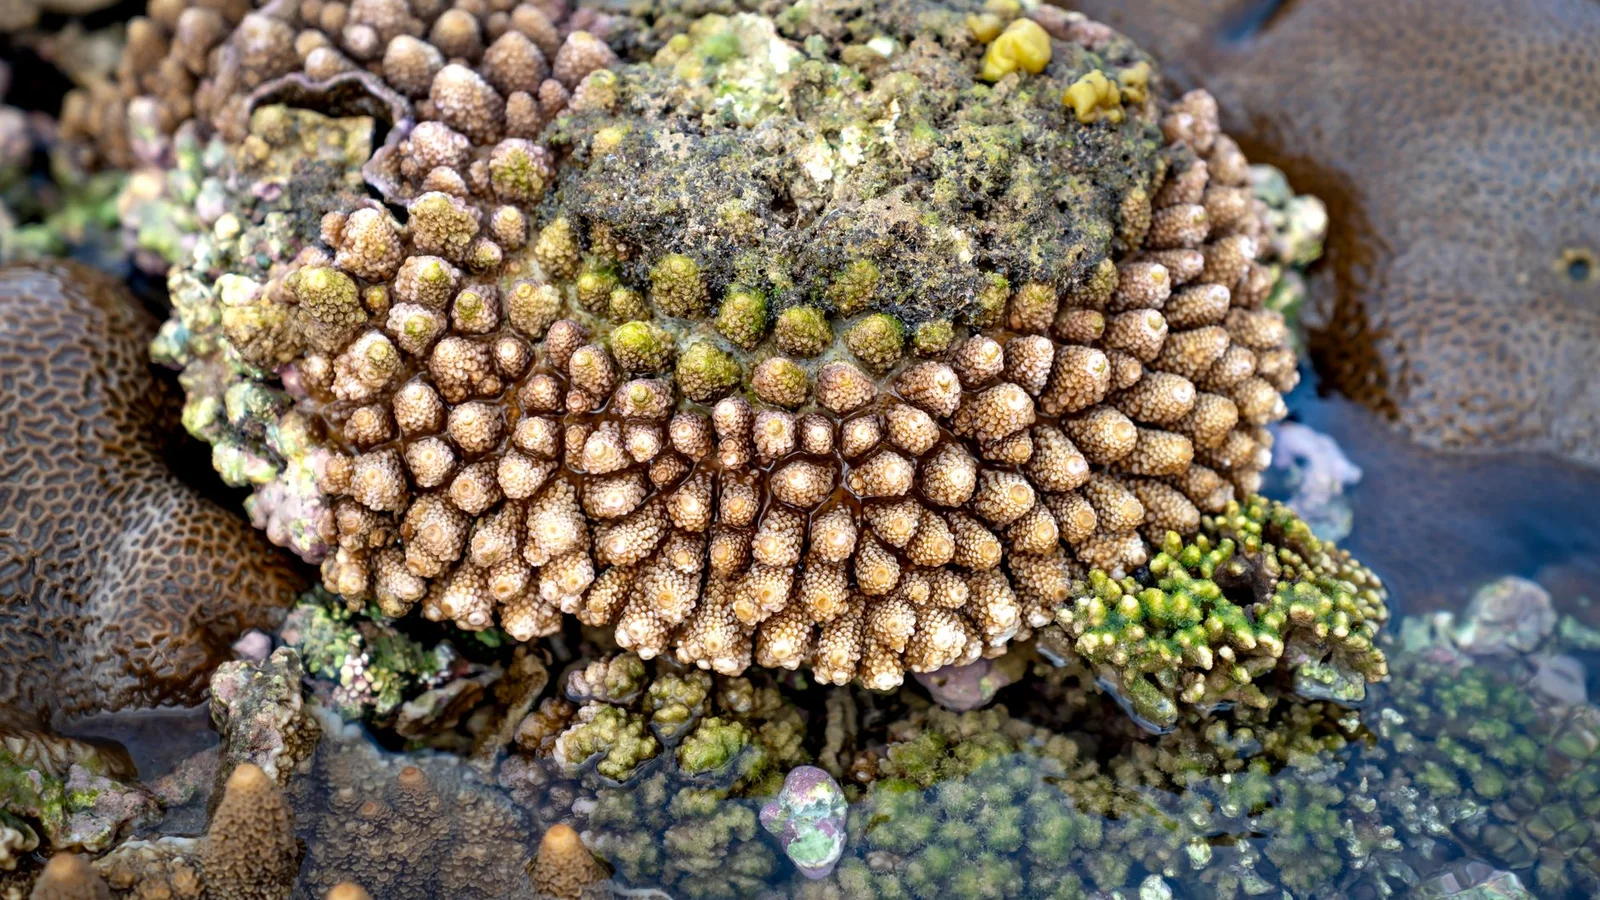
How to Acclimate Properly
Begin by floating the sealed bag in your tank or sump for fifteen minutes to equalize temperature. Then open the bag and, over the next fifteen to twenty minutes, add small amounts of tank water at intervals to slowly shift the chemistry. Many reefers pour the bag into a small container and drip tank water in, or simply add a splash every few minutes. Keep the coral out of bright light during this period, since it is already stressed. Once the water in the container is mostly your tank water, the coral is ready for the next and most important step, the dip.
Dipping to Remove Pests
Coral dips use a commercial coral-safe solution that irritates pests into releasing their grip without harming the coral. After acclimating, place the coral in a separate container of tank water mixed with the dip at the recommended dose, and swish it gently for the directed time. You will often see pests, tiny flatworms, eggs, or unwanted snails, fall off into the dip. Rinse the coral in clean tank water afterward so no dip carries into your display, and inspect the frag plug, a favorite hiding spot for pest eggs. Skipping this step is how reefers unknowingly introduce infestations that take months to fight.
Quarantine for Extra Safety
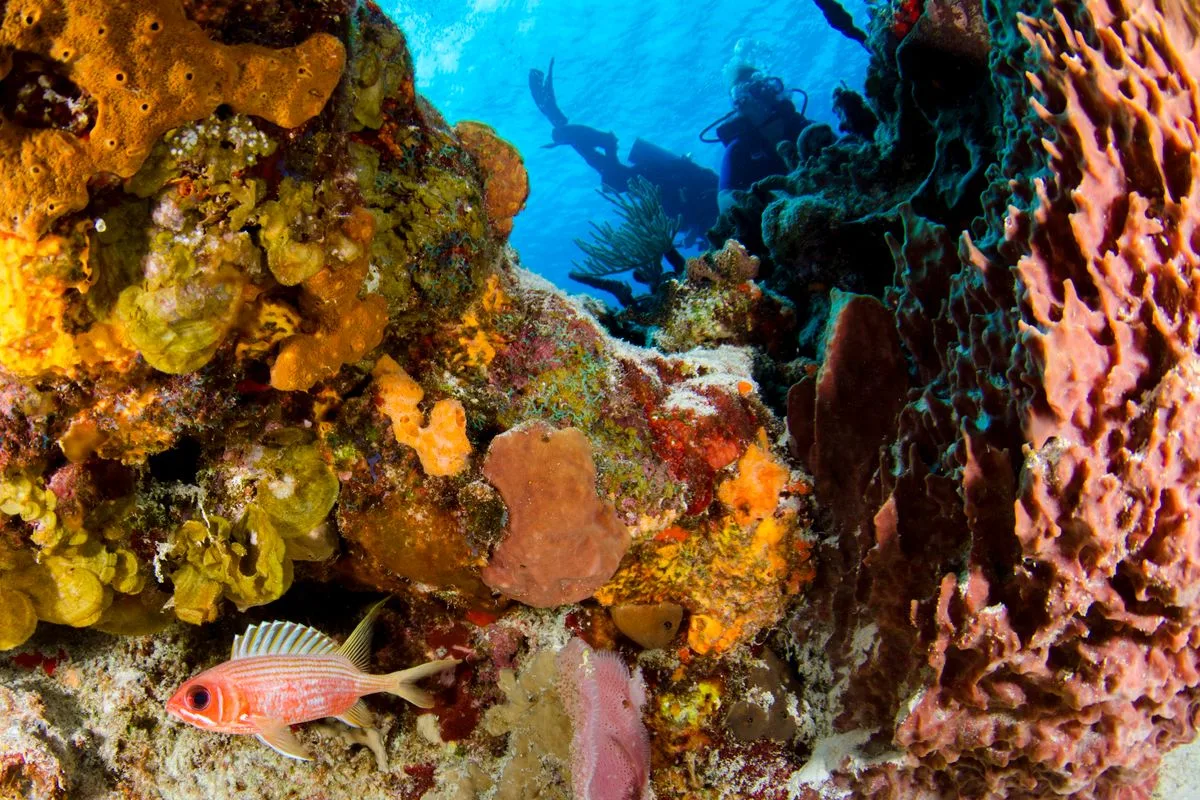
The gold standard is to hold new corals in a separate quarantine system for a few weeks before adding them to your display, observing for pests or disease that a single dip might miss, since dips kill adults but not always eggs. A simple coral quarantine can be a small tank with a light and a powerhead. If a full quarantine is not practical, at minimum dip, inspect closely, and place new frags where you can keep an eye on them. The extra caution is always cheaper than eradicating a pest that has spread across an entire reef.
Mounting and Placing the Frag After the Dip
Once a new coral has been acclimated and dipped, the next decisions are where to attach it and where to set it, and both deserve a moment’s thought rather than a quick guess. Most frags arrive on a plug or disc that can be wedged into the rockwork, glued down, or set in a frag rack. For a permanent placement, a dab of reef-safe cyanoacrylate gel bonds the plug to dry rock quickly, while corals you may want to relocate can simply rest in a hole or on a ledge until you are sure of the spot.
Resist the temptation to place a new coral in its dream location right away. A frag that came from a shop’s lighting needs to be eased into yours, so start it lower in the tank and in moderate flow, then move it gradually upward over a week or two as it shows it is settling. Placing a light-hungry coral directly under intense lighting on day one is one of the most common ways beginners bleach an otherwise healthy piece.
Pay attention to neighbors as well. Many corals can sting or shade one another, so leave generous space around a new frag, picturing how large it will grow rather than how small it is today. Crowding looks fine for a few weeks and then becomes a slow-motion border war as corals expand into each other’s territory. Giving each piece room from the start saves you from constant rearranging later.
After mounting, give the coral time and watch it rather than fuss over it. A frag often stays partly closed for a day or two after handling, then opens fully as it adjusts. Steady light, gentle flow, and stable water are all it needs to recover. If it continues to extend its polyps and hold color over the following weeks, you have placed it well; if it stays closed or pales, a small move to gentler light or flow is usually all the correction required.
Finally, keep good notes on what you dipped and when. Tracking the date a coral entered the tank, the dip you used, and any pests you spotted helps you connect the dots if something unwelcome turns up later. A simple log turns each new arrival into a known quantity rather than a mystery, and it makes spotting the source of a future pest outbreak far easier.
A Few Minutes of Insurance
Careful acclimation and dipping turn the risky moment of adding a coral into a controlled, safe routine. Match temperature and water slowly, dip every frag to shed hitchhikers, rinse, and inspect the plug. Quarantine when you can. These small habits cost only minutes but protect your entire reef from the pests and shock that catch careless reefers off guard, letting every new coral settle in cleanly and thrive.
Related reading
- How to Feed Corals: Target Feeding, Broadcast Feeding, and Who Needs What
- How to Frag Corals: A Beginner’s Guide to Propagation
- SPS Corals for Intermediate Reefers: Acropora Basics
- Mushroom Corals: The Bulletproof Beginner Coral